---
title: "Building HTML5 with Adobe Animate"
slug: "building-html5-with-adobe-animate"
updated: 2024-06-07T14:06:43Z
published: 2024-06-07T14:06:43Z
canonical: "help.dsp.samsungads.com/building-html5-with-adobe-animate"
---
> ## Documentation Index
> Fetch the complete documentation index at: https://help.dsp.samsungads.com/llms.txt
> Use this file to discover all available pages before exploring further.
# Building HTML5 with Adobe Animate
This page helps you build a HTML5 creative using [*Adobe Animate*](https://www.adobe.com/products/animate.html) *CC* *(2023)*.
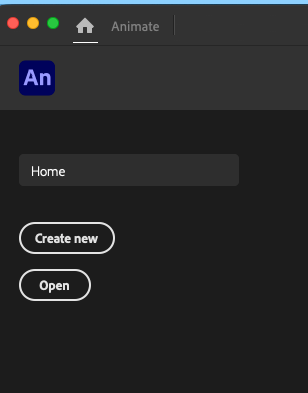
1. Open *Adobe Animate CC* and click **Create new**.
2. Under the **Ads** tab, select the size of your ad.
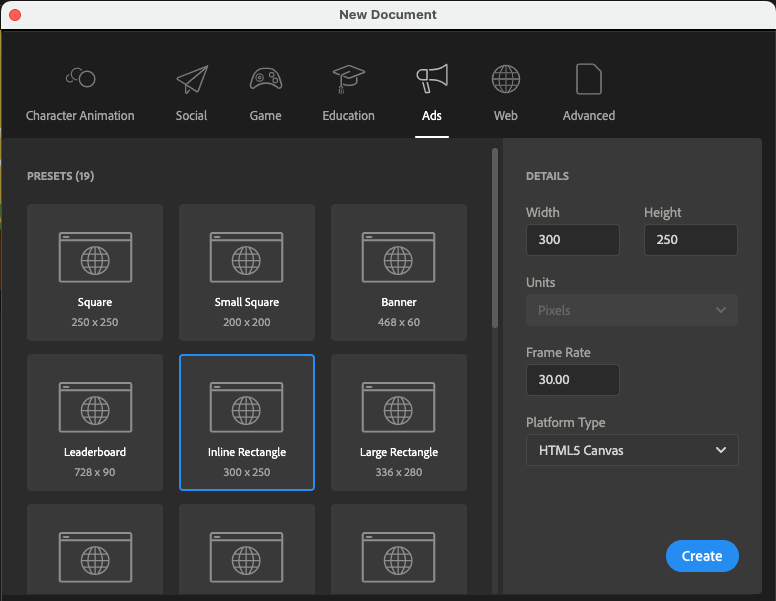
If you can’t find a preset fitting the size of your ad:
1. Click the **Advanced** tab.
2. Select **HTML5 Canvas** and set the width and height.
## Publish Settings
1. Download the [AdGear-Template.html](https://cdn.document360.io/287afab9-a086-4024-a782-6cbdb167f005/Images/Documentation/AdGear-Template.html?sv=2026-02-06&spr=https&st=2026-11-10T16%3A35%3A03Z&se=2026-11-10T17%3A35%3A03Z&sr=c&sp=r&sig=YTNVd5s1IlahuybIuvK8ItSRhcjxSWl8db8LJAWZlsU%3D) file.
If you use *Adobe Animate 2015*, starting, download the [AdGear - Template (Animate 2015).html](https://cdn.document360.io/287afab9-a086-4024-a782-6cbdb167f005/Images/Documentation/AdGear%20-%20Template%20(Animate%202015).html?sv=2026-02-06&spr=https&st=2026-11-10T16%3A35%3A03Z&se=2026-11-10T17%3A35%3A03Z&sr=c&sp=r&sig=YTNVd5s1IlahuybIuvK8ItSRhcjxSWl8db8LJAWZlsU%3D) file instead.
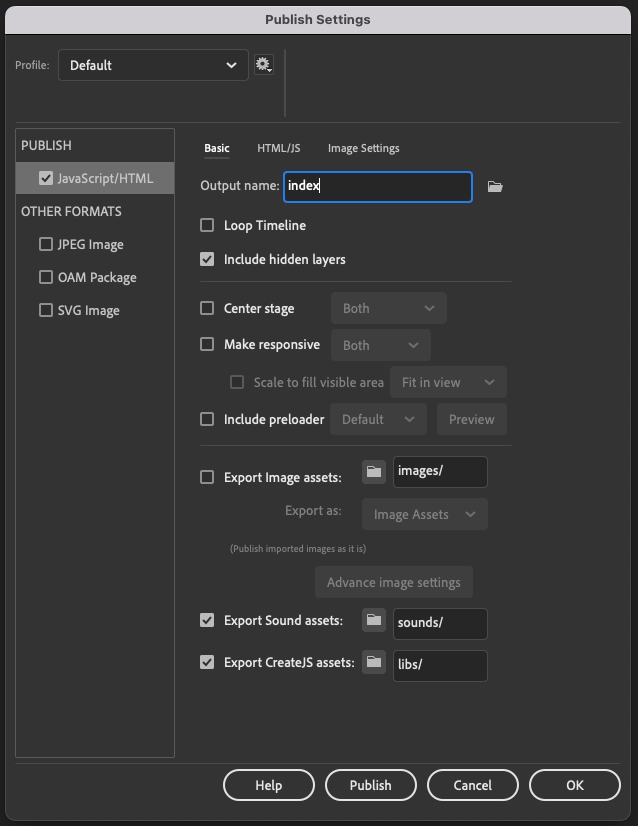
1. In the upper-left hand corner, click **File** and select **Publish Settings**.
2. Under the **Basic** tab:
1. Make sure the **Output name** is **index** or ends with **/index**. This ensures that the output HTML5 file will be named *index.html*.
2. Make sure the **Loop Timeline** checkbox **is not** ticked.
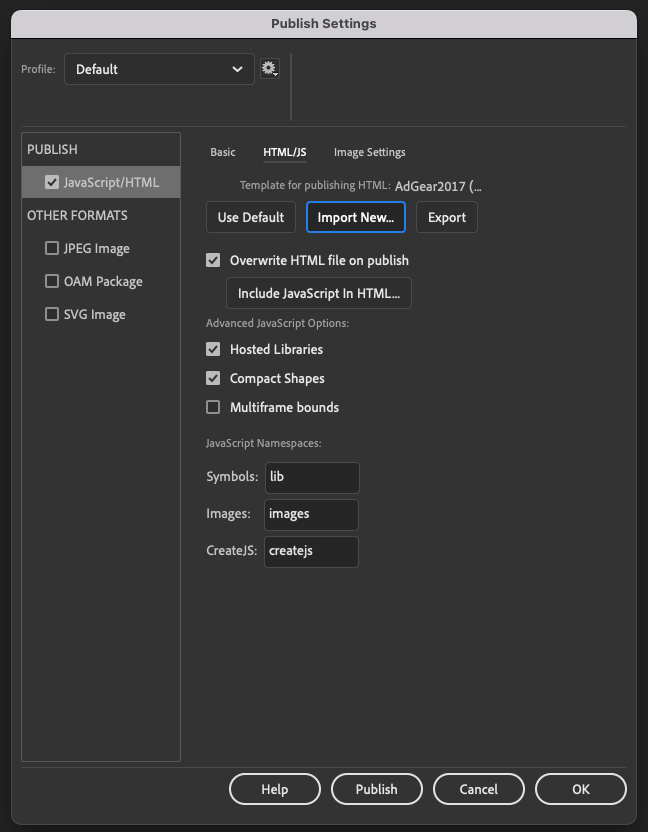
3. Under the *HTML/JS* tab, click **Import New…** and browse to either *AdGear - Template.html*.
4. Make sure the **Overwrite HTML file on publish** checkbox is ticked and click **OK**.
## Click Button
If you want to create a button that covers only a part of your ad, see [Option 2: Small button](/docs/building-html5-with-adobe-animate#option-2-small-button) for more information.
### Option 1: Create a Full size button (transparent)
1. Create a new layer on your timeline for your button.
2. Place this layer on top of any layers with symbols or visual element to ensure no element prevents the click that button. Make sure this layer is the same key frame for the entire timeline.
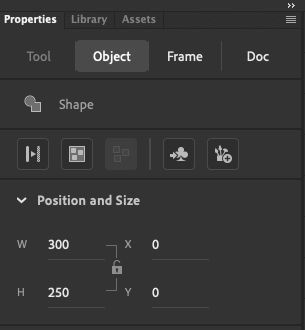
3. Select the **Rectangle tool** on the left menu, then click and drag on the scene to draw a rectangle of the size of your ad (ex: 300x250).
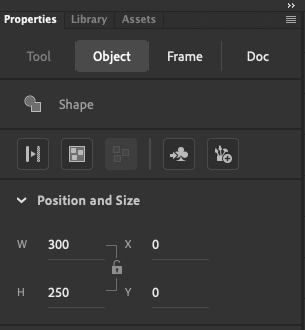
We highly recommend you to use the **Position and Size** properties box to precisely change the width (W) and height (H), as well as your ad’s location on the X and Y axes (which is usually 0 and 0).
1. Right-click the rectangle and select **Convert to Symbol**.
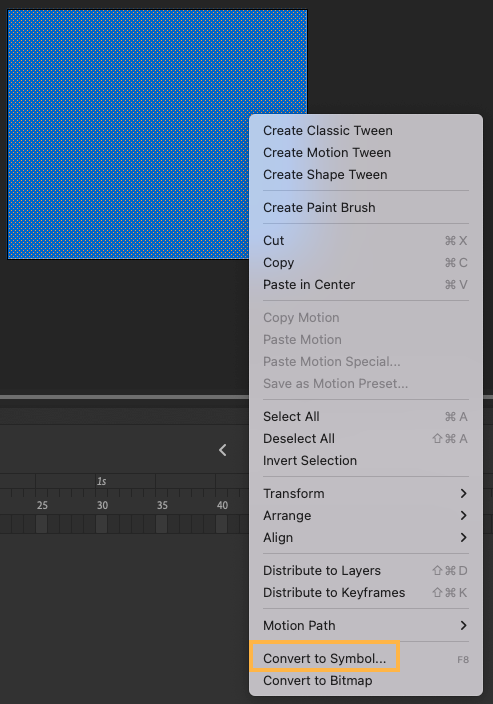
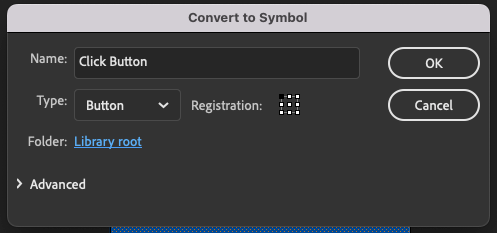
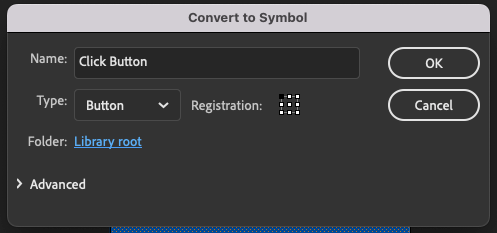
2. In the **Convert to Symbol** window, select **Button** in the **Type** drop-down list.
3. Double-click that symbol (i.e., the rectangle) to edit it.
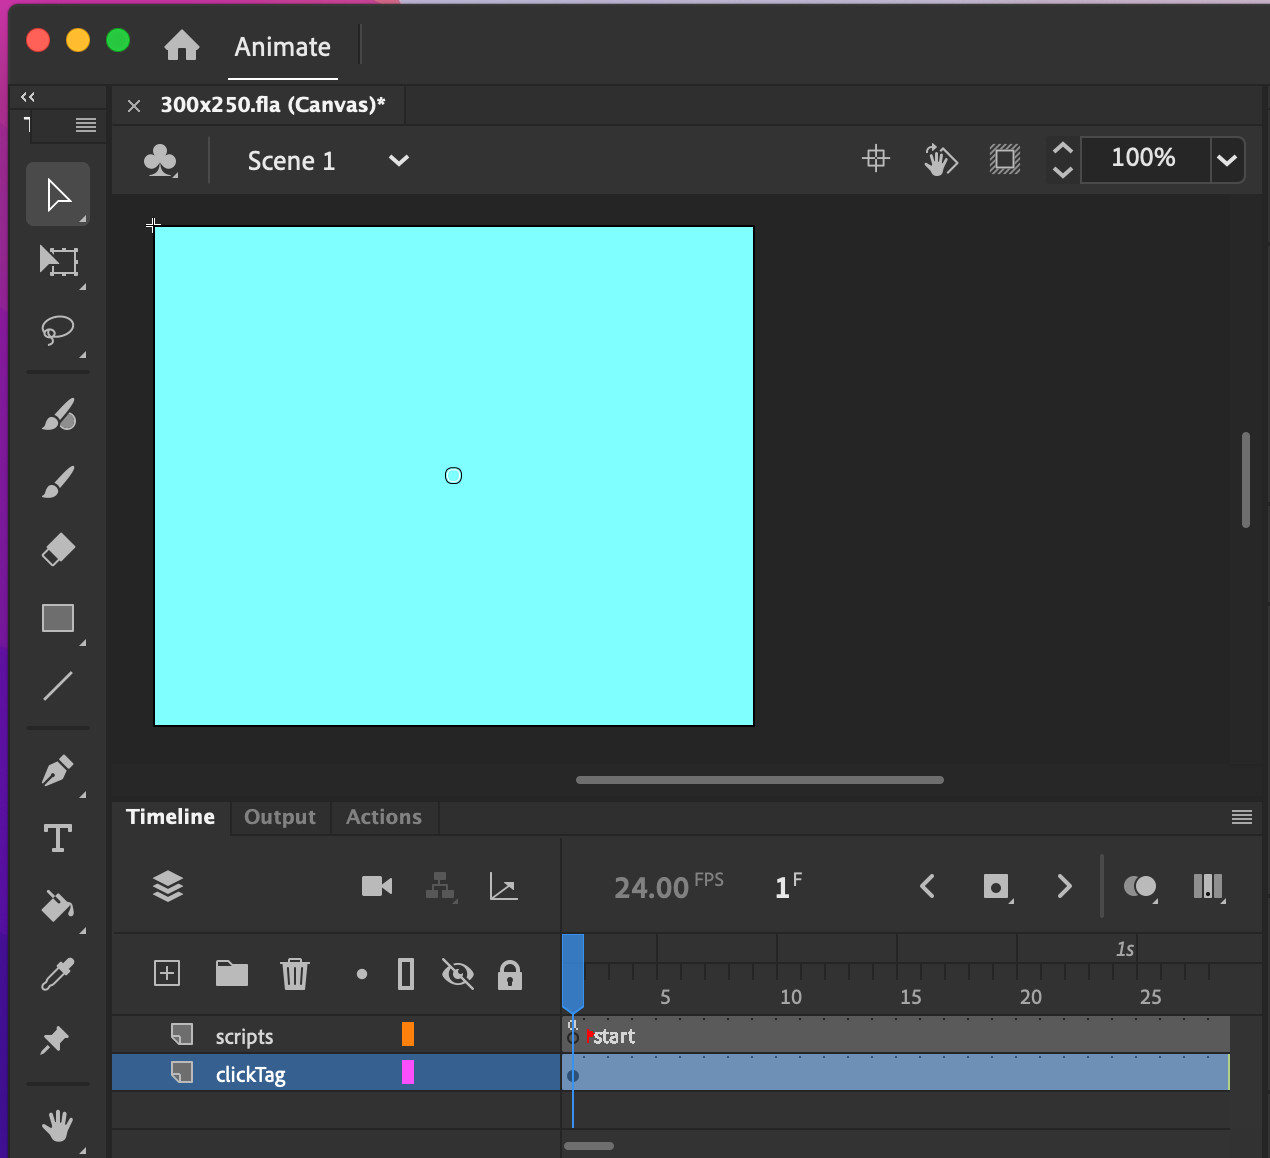
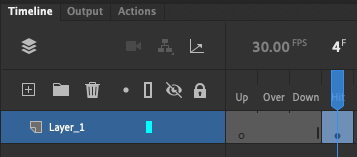
4. In the timeline, drag the key frame in the **Up** column and move it to the **Hit** column.
5. Return to the main Scene by either double-clicking outside the stage, or clicking the **Scene 1** label in the top left of the stage.
### Option 2: Small button
If you want to only have a small button clickable, you can create your button using images and shapes.
1. Create a new layer on your timeline for your button.
2. Import the images and shapes you want to be clickable.
3. We highly recommend you to use the **Position and Size** properties box to precisely change their width (W) and height (H), as well as their location on the X and Y axes.
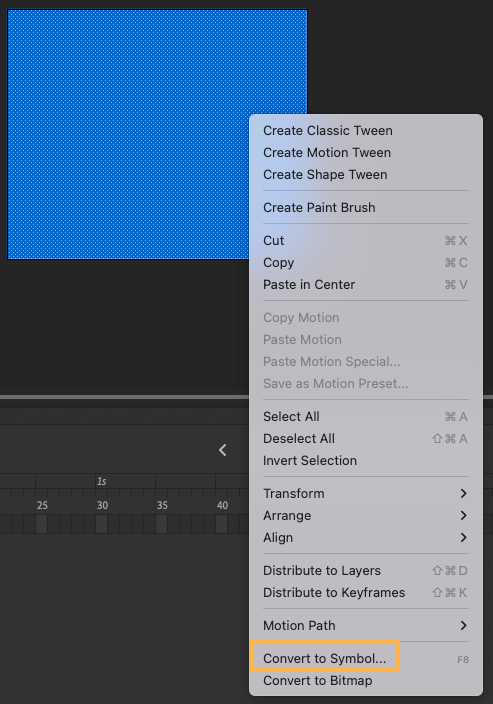
4. Right-click the image/shape and select **Convert to Symbol**.
5. In the **Convert to Symbol** window, select **Button** in the **Type** drop-down list.
### Adding code to the button
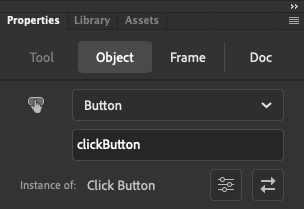
1. Select the symbol (i.e., imported image/shape) and change the instance name (in the **Properties** box on the right) to **clickButton**.
2. Add a new layer in your timeline. Make sure this layer is the same key frame for the entire timeline.
3. Right-click the first frame and select **Actions**.
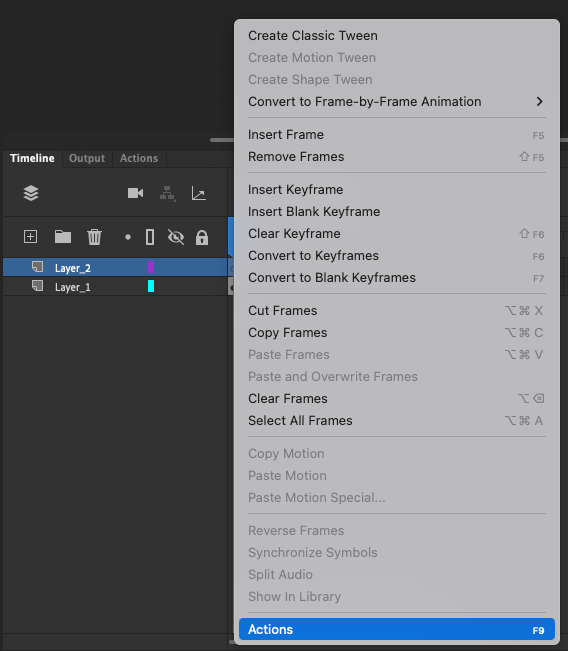
4. Include this code snippet in the text box:

```
this.clickButton.on("click", function() { ADGEAR.html5.clickThrough("clickTAG"); });
this.clickButton.cursor = "pointer";
```
## Complete the code
See [HTML5 Javascript Library](/docs/html5-javascript-library) to create more sophisticated ad executions by leveraging the extent of the *AdGear HTML5 JavaScript API*.
Please consider having a look at this document [HTML5 Recommendations](/docs/html5-recommendations) where we provide important tips and best practices to improve your HTML 5.
## Publish (Output)
Once ready, you can publish your creative to import it to Samsung DSP.
1. In the upper-left hand corner, click **File** and select **Publish**.
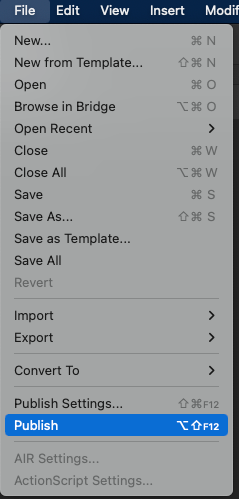
The file will be exported in the same folder as your project file or in a subfolder if you’ve specified a subfolder in the **Publish_Settings**.
1. Zip all the HTML, JavaScript, CSS, and image files that Adobe Animate outputs. No need to include the `.fla` file in the zip.
## Examples
| Adobe Animate CC | Adobe Animate 2015 |
| --- | --- |
| [AdGear HTML5 - Adobe Animate.zip](https://cdn.document360.io/287afab9-a086-4024-a782-6cbdb167f005/Images/Documentation/AdGear%20HTML5%20-%20Adobe%20Animate.zip?sv=2026-02-06&spr=https&st=2026-11-10T16%3A35%3A03Z&se=2026-11-10T17%3A35%3A03Z&sr=c&sp=r&sig=YTNVd5s1IlahuybIuvK8ItSRhcjxSWl8db8LJAWZlsU%3D) | [AdGear_Animate_demo.fla](https://cdn.document360.io/287afab9-a086-4024-a782-6cbdb167f005/Images/Documentation/AdGear_Animate_demo.fla?sv=2026-02-06&spr=https&st=2026-11-10T16%3A35%3A03Z&se=2026-11-10T17%3A35%3A03Z&sr=c&sp=r&sig=YTNVd5s1IlahuybIuvK8ItSRhcjxSWl8db8LJAWZlsU%3D) |
## Convert AS3 file to HTML5
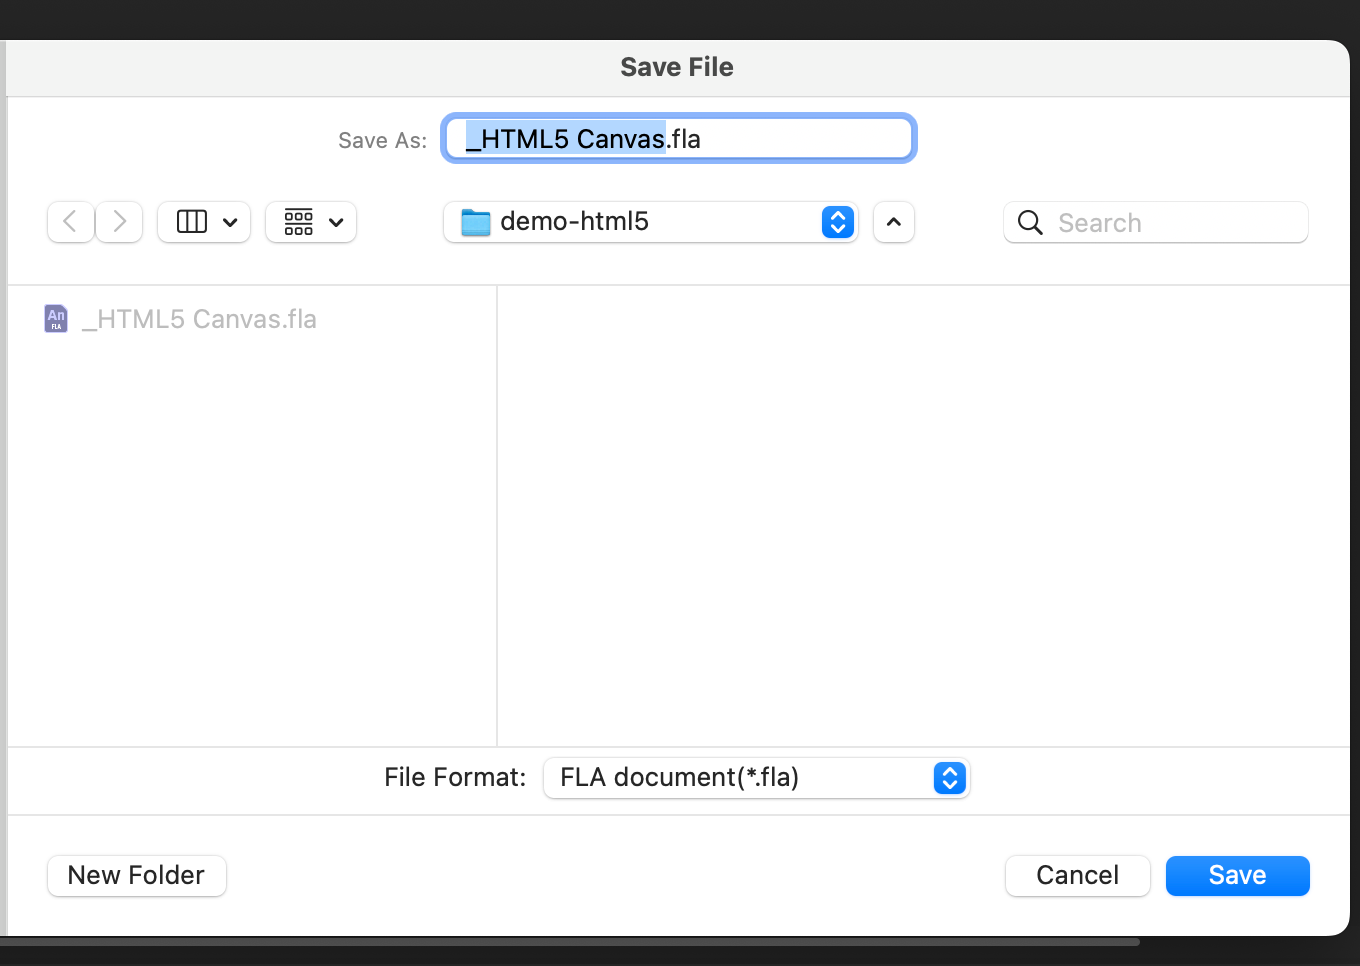
1. To convert an AS3 file to HTML5, open your `.fla` file in *Adobe Animate*.
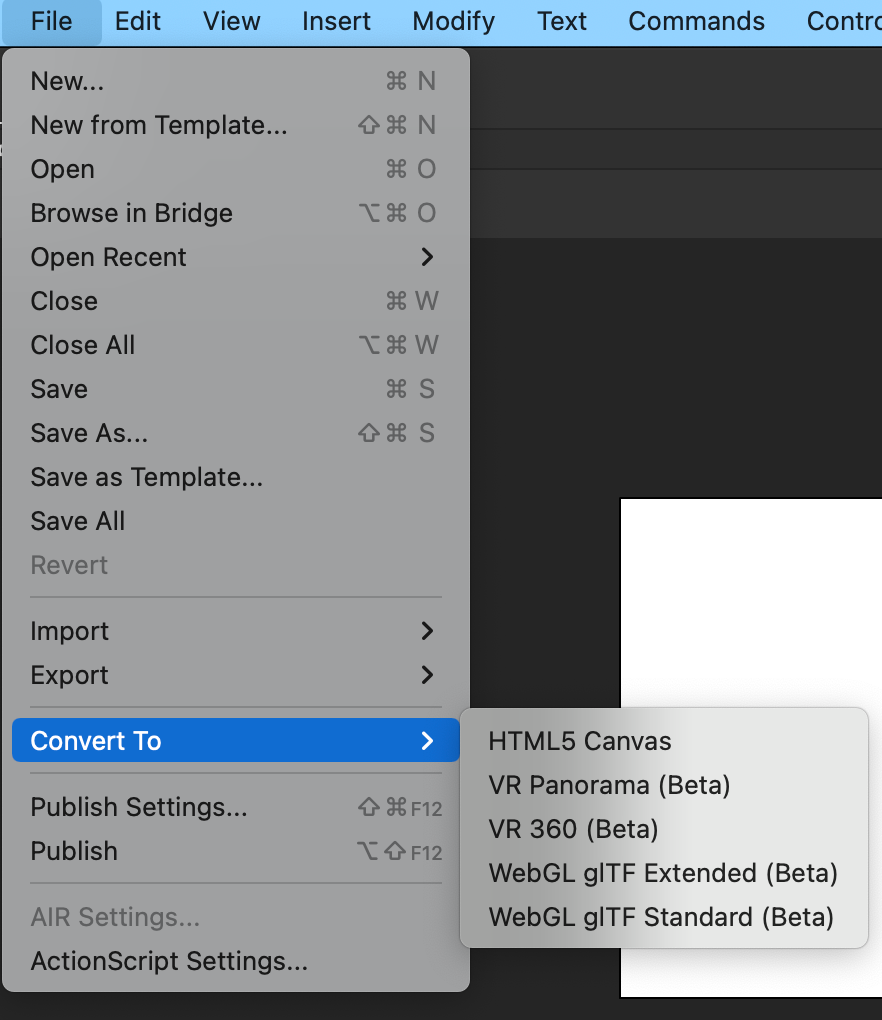
2. Go to **File** then hover over **Convert to** to select **HTML5 Canvas**.
3. Save your file.
### Using previous Adobe Animate version
1. To convert an AS3 file to HTML5, open your `.fla` file.
2. Go to **Commands** and click **Convert to Other Document Formats**.
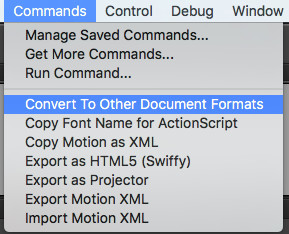
In Adobe Flash, the option is called **Convert to HTML5 Canvas from AS3 document formats**. You can follow the official Adobe article on how to convert AS3 files to HTML5: [http://blogs.adobe.com/animate/actionscript-to-html5-flashpro-cc/](http://blogs.adobe.com/animate/actionscript-to-html5-flashpro-cc/).
1. Select **HTML5 Canvas** and click **OK**. This will build a new `.fla` file in the Adobe HTML5 Canvas format. You can then publish it as HTML and JavaScript files.
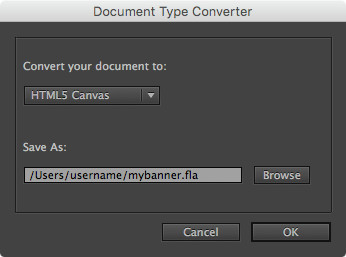
- While converting AS3 to HTML5 Canvas, either through the command or manually, *Adobe Animate* applies defaults or removes unsupported features. Warnings of these modifications are displayed in the output panel. For more information on unsupported features, you can visit the [Unsupported features | HTML5 Canvas](http://helpx.adobe.com/flash/kb/unsupported-features-html5-canvas1.html) page from Adobe.
- Adobe Animate won't convert your ActionScript code to JavaScript automatically. You can then follow our [step-by-step guide](/docs/html5-javascript-library) to implement the *AdGear Library*.